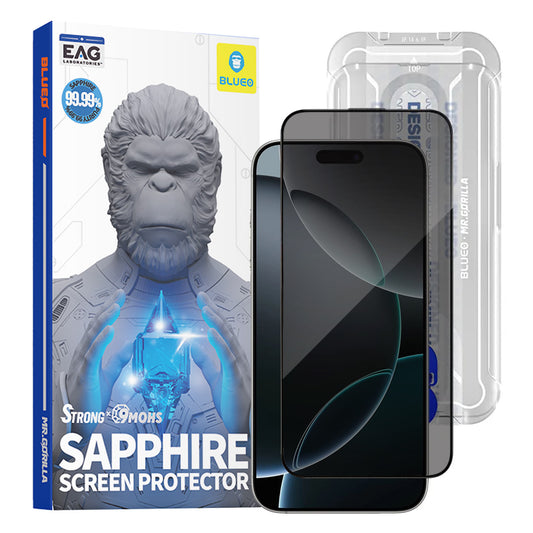
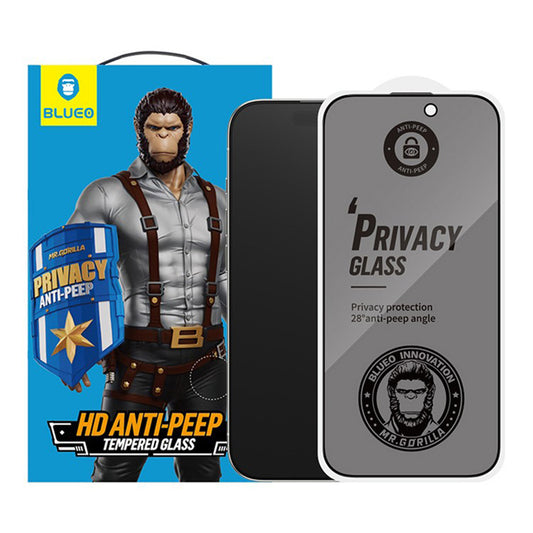
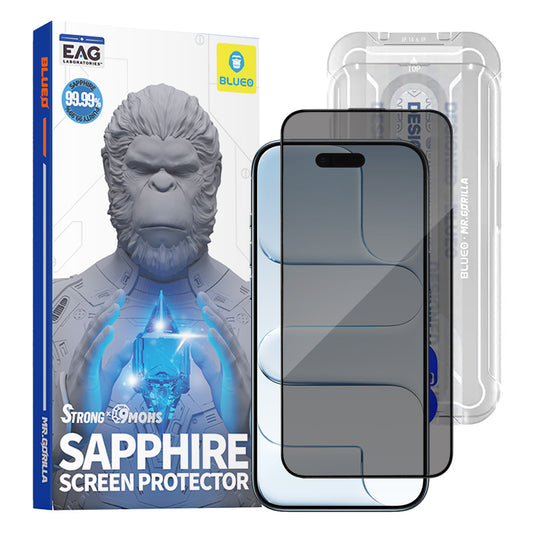
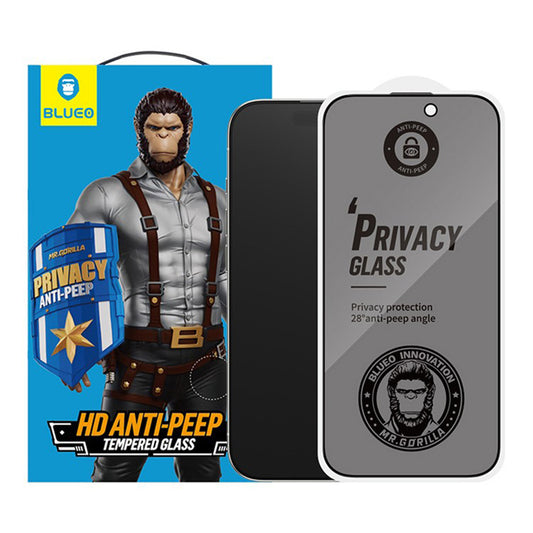
Presentation
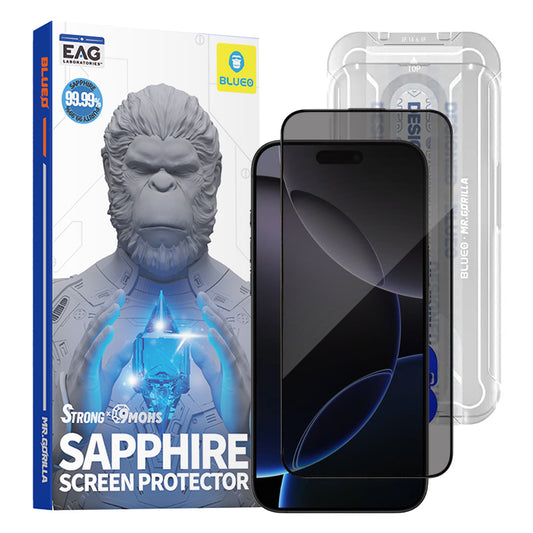
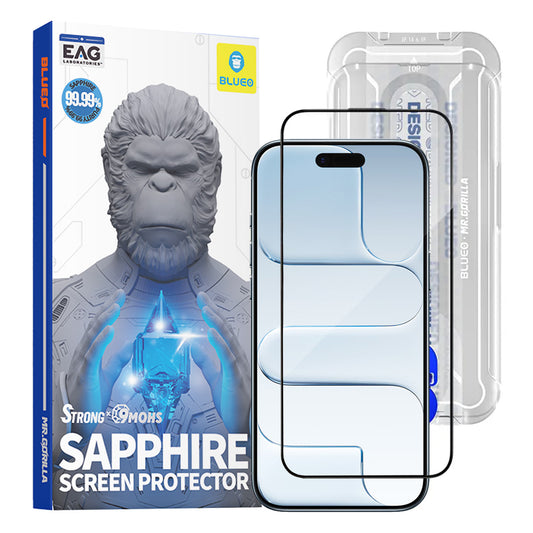
| Easy install kit | No |
| Material | Plastic |
| Protected surface | Screen |
| Type coverage | Full |
| Foil type | Clear |
Sale package
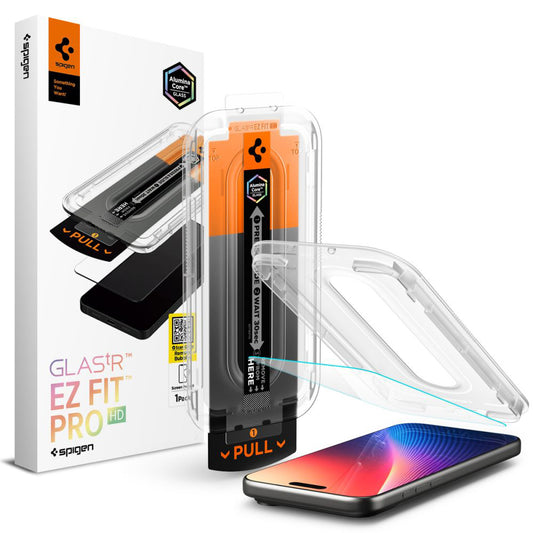
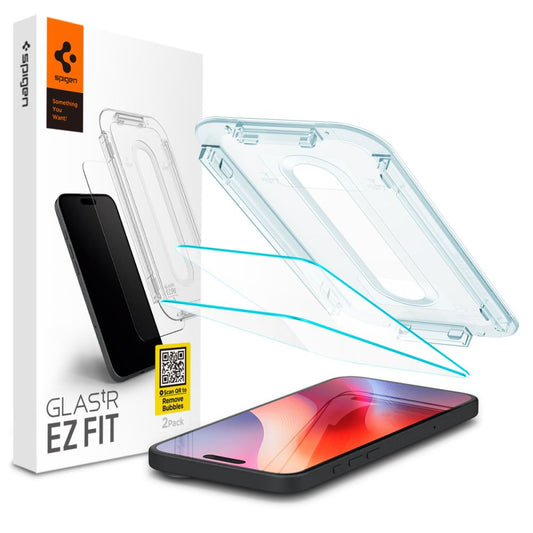
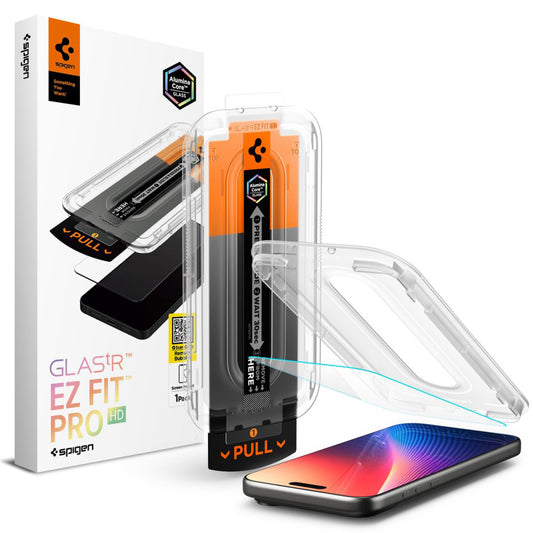
| Content | Screen protector / Application Kit |
| Easy install kit | No |
| Material | Plastic |
| Protected surface | Screen |
| Type coverage | Full |
| Foil type | Clear |
| Content | Screen protector / Application Kit |


Attention! For an easier and correct installation, please carefully follow the steps listed below.
Step 1: With clean hands
Before installation, clean the work area and wash your hands thoroughly. It is very important to apply the protector in an environment free of dust, smoke, lint, or other impurities.
Step 2: Checking the protector
Place the protector over the iPhone 16 Pro to check compatibility. After ensuring a perfect fit, remove any unnecessary cutouts from the protector.
Step 3: Lubricating the protector
Spray Smart Spray on your fingers. Peel the protector off the backing, gradually spraying the entire adhesive side.
Attention! The protector needs lubrication, so spray generously.
Step 4: Positioning the protector
Place the protector with the adhesive side on the iPhone 16 Pro screen and align it perfectly. Don’t worry, thanks to the lubrication, the protector will allow multiple repositionings.
Step 5: Removing air bubbles and liquid
After correctly and finally positioning the protector, use the microfiber cloth and the Smart Squeegee card to completely remove excess liquid and air. The process involves gently pressing from the center of the display towards its edges.
Attention! In case of improper installation, reapplication of the protector is allowed within a maximum of 3-4 minutes after installation.
Attention! We recommend using your phone carefully during the first 48 hours after installing the protector.

Alternative products
Frequently bought together
You may also like
Popular in same category